How to Safely Microneedle at Home (Without Ruining Your Skin barrier)
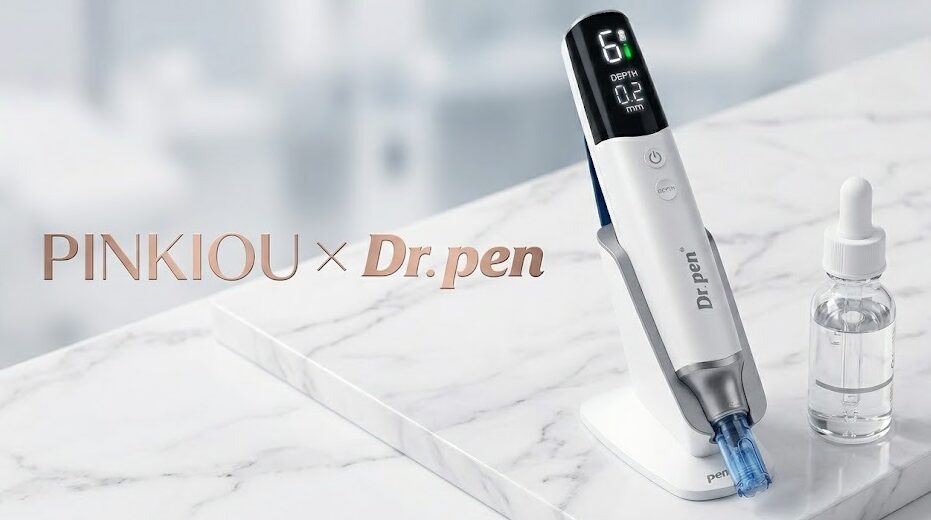
If you’ve been looking into treatments for acne scars, hyperpigmentation, or fine lines, you’ve probably heard of microneedling. An idea that sounds scary and intimidating.
But here is the truth: when done correctly, microneedling is one of the most effective ways to trigger your skin’s natural collagen production and increase product absorption by up to 300%. The key phrase here is when done correctly.
Using cheap, manual derma rollers can actually cause micro-tears in your skin. To get real results safely at home, you need professional-grade control. Here is the step-by-step guide to doing it right.
Step 1: Prep and Sanitize (Non-Negotiable)
Hygiene is everything. You are creating micro-channels in your skin, so you need a sterile environment. With or without treatments, studies suggests that you should at least clean your facial and surrounding areas such as neck and under your chin entirely 3 times to ensure healthy skin conditions, nothing less important than dental.
But for microneedling, we need a bit more procedures to make sure.
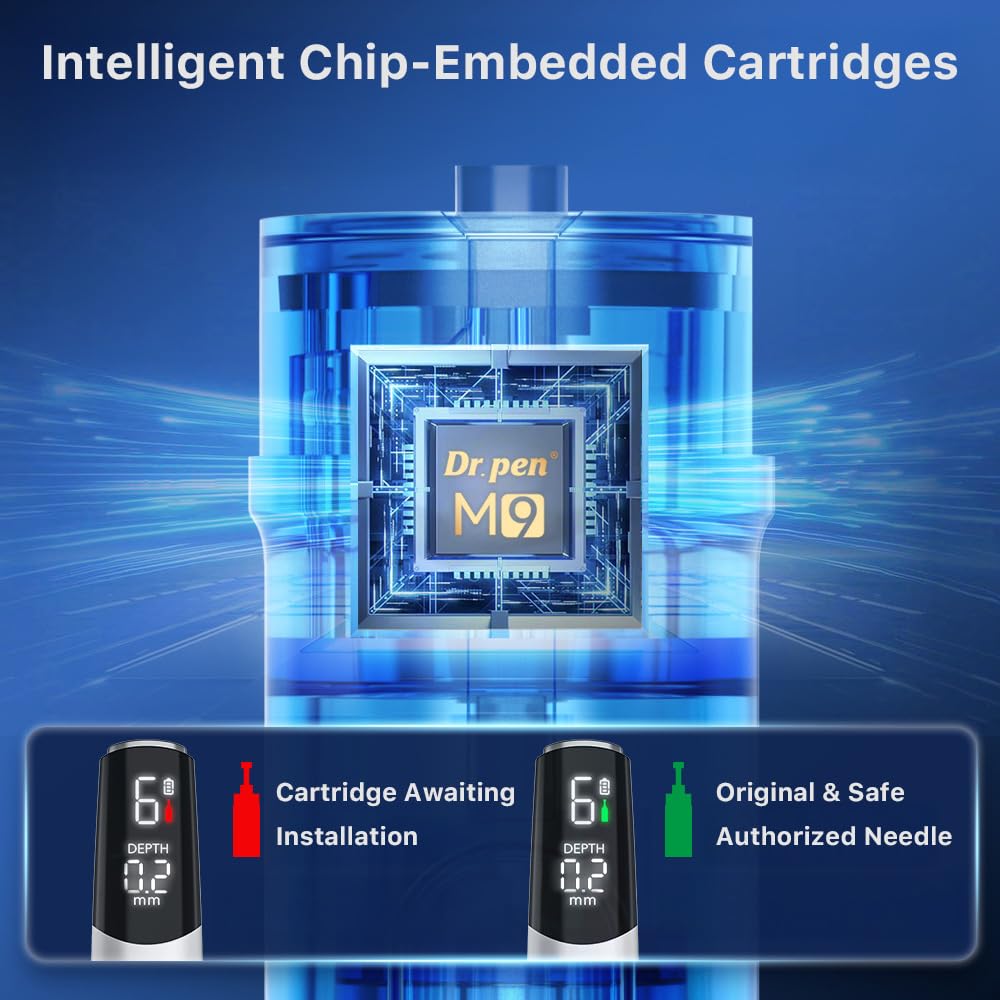
Wash your face twice with a gentle cleanser to remove all makeup, oil, and sunscreen. Wipe down your skin with rubbing alcohol. Most importantly, make sure you are using a brand-new, sterile needle cartridge. NEVER reuse a cartridge—it’s the fastest way to invite bacteria and cause a breakout.
Step 2: Ditch the Roller, Upgrade to a Pen
Traditional manual dermal rollers enter the skin at an angle, which can drag and tear the tissue. This is why many people experience unnecessary redness and damage.
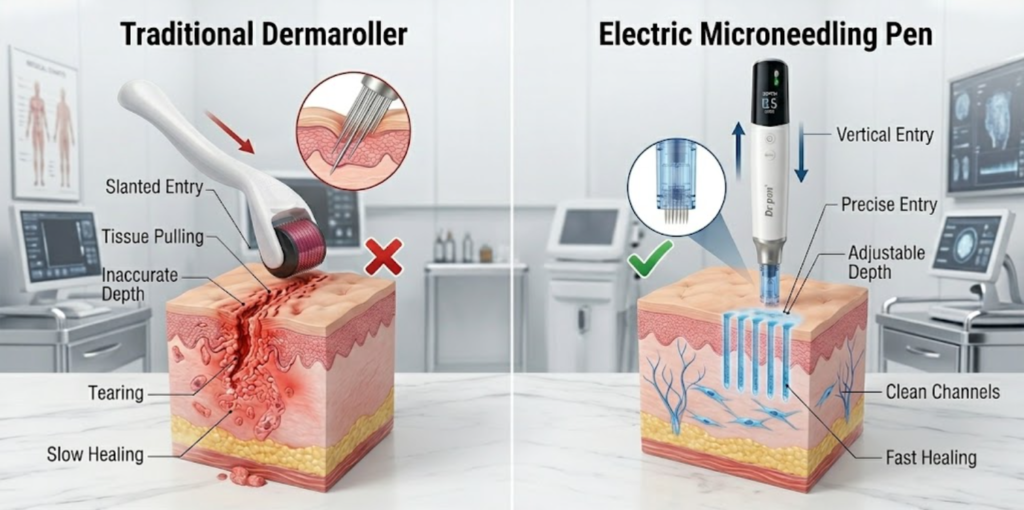
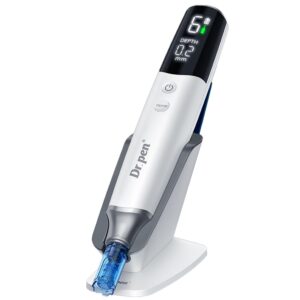
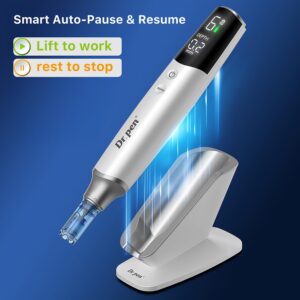
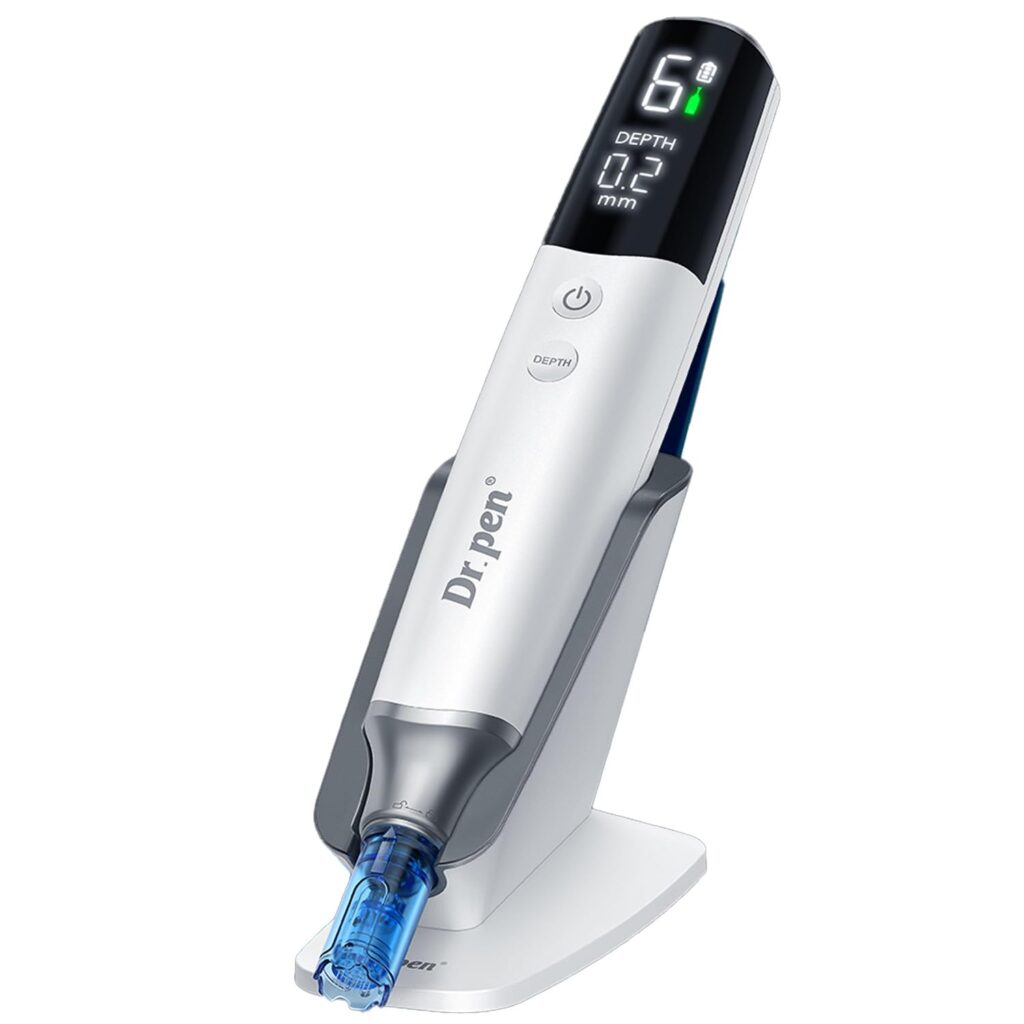
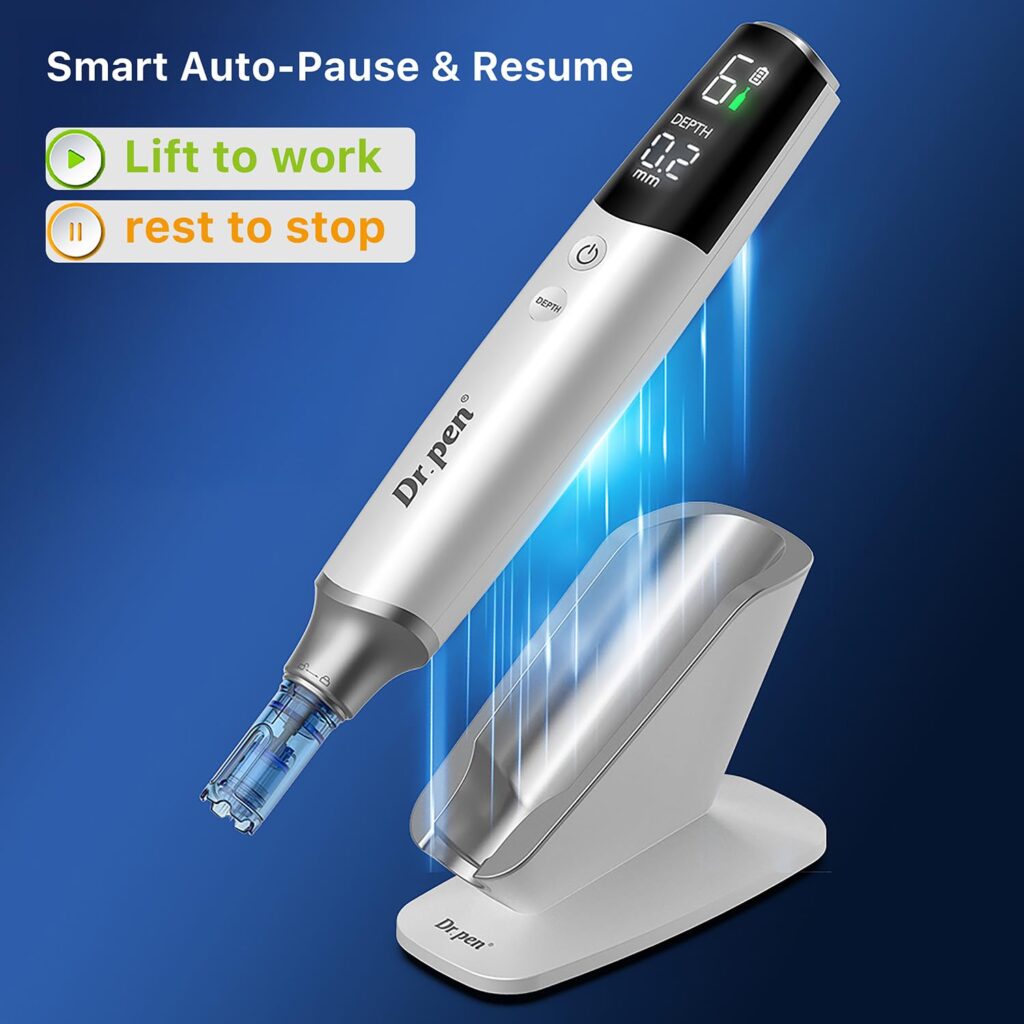
For home use, an electric microneedling is the safest choice. The Pinkiou x Dr. Pen M9 operates with a vertical, automated stamping motion. This means the needles enter and exit the skin straight up and down, minimizing trauma and pain while maximizing effectiveness.
Step 3: Dial in Your Settings
Different parts of your face have different skin thicknesses. You shouldn’t use the same needle depth on your delicate under-eyes as you would on your cheeks.
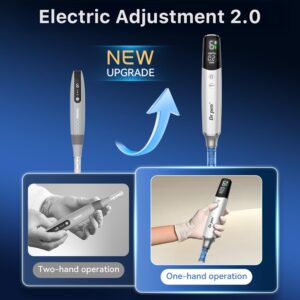
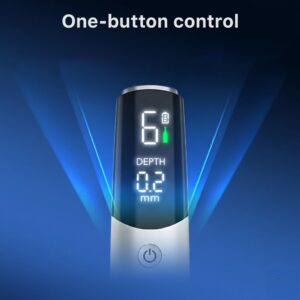
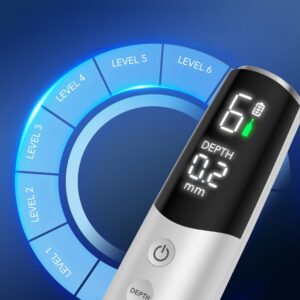
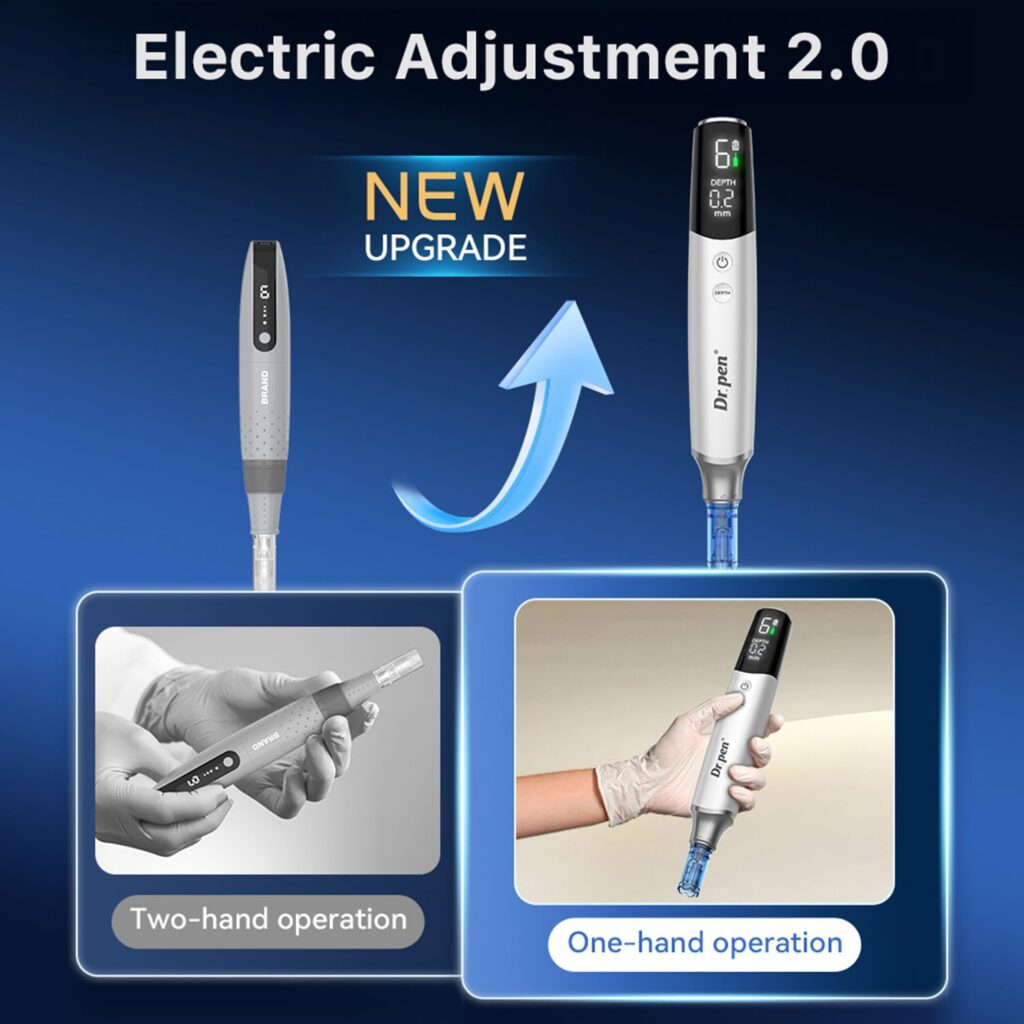
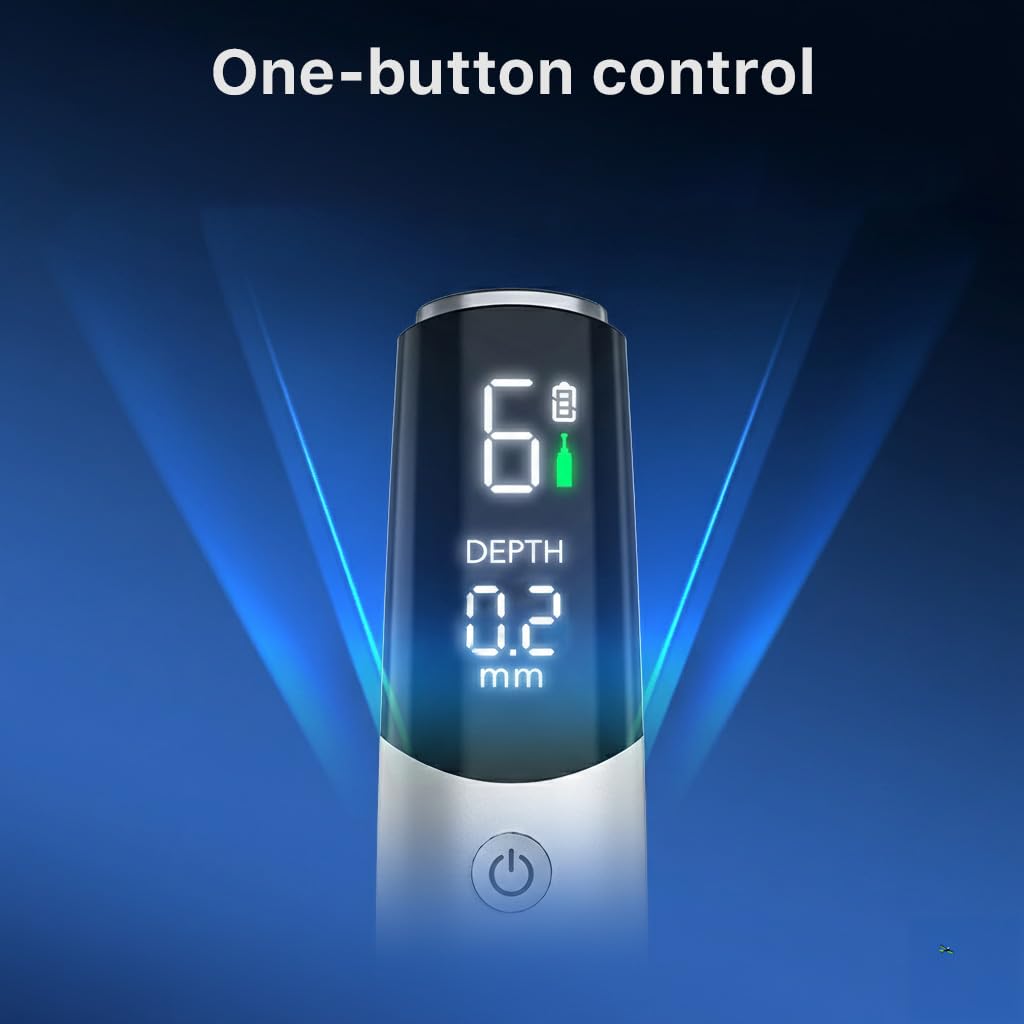
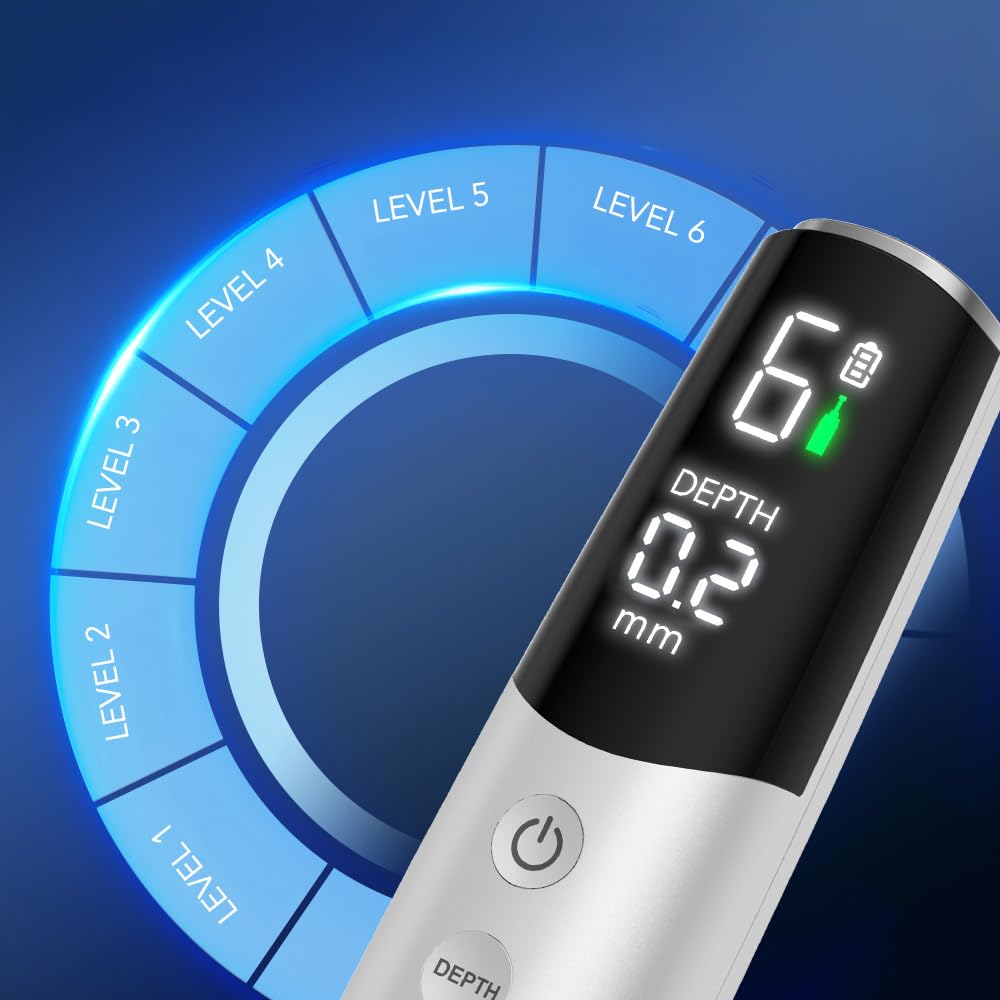
The Dr. Pen M9 makes this user-friendly. It features an adjustable dial (allowing you to control the depth precisely) and a digital display with 6 speed levels.
- For forehead and around the eyes: Keep the depth shallow (0.25mm – 0.5mm).
- For cheeks and chin (targeting acne scars): You can adjust slightly deeper (0.5mm – 1.0mm).
Always start at a shallow depth and a lower speed if you are a beginner. Let the pen do the work—do not press hard into your skin. Just glide it gently over a slip of pure Hyaluronic Acid serum.

Step 4: The Golden Rule of Aftercare
After a session, your skin will look and feel like you have a mild sunburn. This is normal.
What you do next is crucial: Do not apply any active ingredients. No vitamin C, no retinol, no exfoliating acids. Your skin barrier is temporarily open. Apply a generous layer of pure, hydrating Hyaluronic Acid and let your skin rest. Avoid direct sun exposure and heavy sweating for at least 24 hours.
Professional Results, Zero Salon Markups
Instead of an expensive clinic visit or salon appointment. With the right technique and a professional-grade tool, you can safely trigger your skin’s renewal process from home. Same procedures, same tools, more flexibility and much more time-effectiveness.