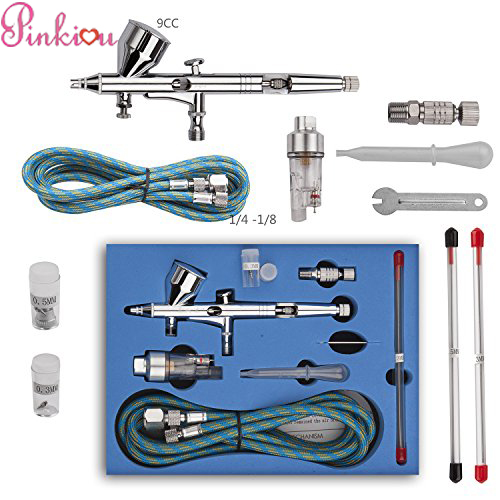
Airbrush Gun are used to apply professional makeup for theatrical performances and photography. They are designed to easily assemble and disassemble for cleaning. Most airbrush guns can be assembled in just five steps.
Step 1
Hold the handle portion of the makeup airbrush in your hand and slide the trigger into the open slot on the top of the handle. Make sure that the trigger lines up with the interior spring. It should glide in without much force.
Step 2
Drop the rocker into the back end of the handle carefully and slide the spring that comes with it over it. In some airbrushes the rocker and spring are connected; in other cases they are separate components.
Step 3
Take the collar of the airbrush and tighten it into place, then slide the lug nut on. Leave it a bit loose so adjustments can be made. Slide in the needle so that it comes out the other end of the handle.
Step 4
Tighten the lug nut onto the end and move to the front of the airbrush. Take the cone tip (the small tip) and tighten it on around the needle. Slide the head over the tip and secure it using the provided wrench. A small universal wrench will work as well.
Step 5
Slide the casing onto the back of the gun and tighten it. Each gun will tighten differently. Some simply snap into place while others need to be tightened with a wrench. Check the manufacturer’s instructions on this part.
Step 6
Connect the air supply to the gun and use a test paper to check that the gun is functioning. You can use a paper or your hand to check the air supply. Simply hold the trigger for the air supply to test the gun. If it is functioning, simply place the head cap over the tip of the gun to protect the tip until you need to use the gun.


